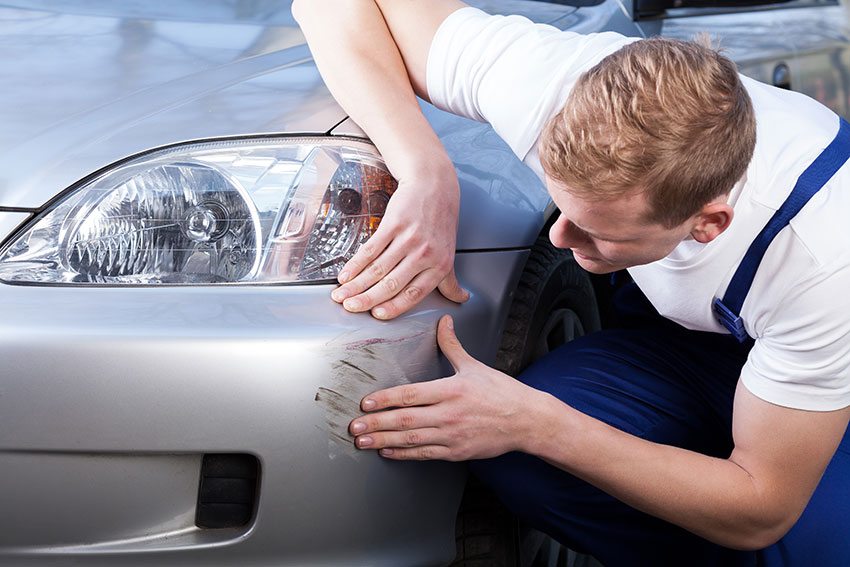
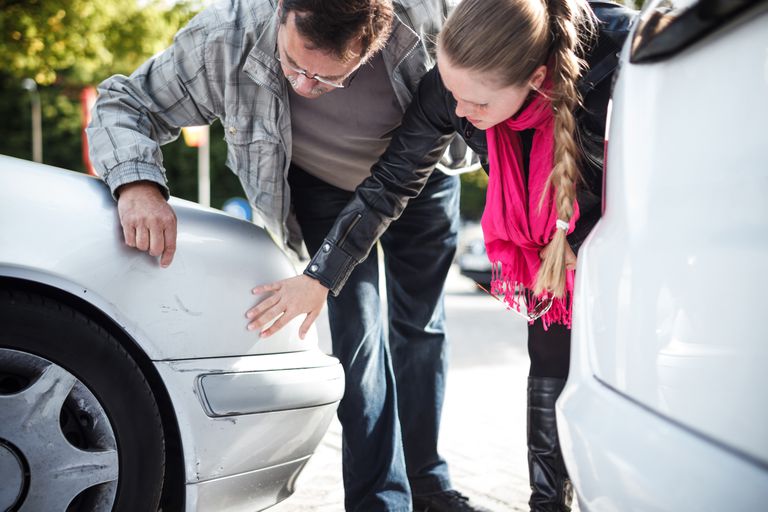
1. DIY Fix Scratches: Find All the Damaged Paint on Your Car
Often, people group all the scratches together and fix them in one go—and that’s exactly what you should do. This approach saves time and effort. Walk around your car, inspect it closely, and mark every spot that needs attention. This DIY Fix Scratches guide is meant specifically for chipped paint and surface scratches, not dents.
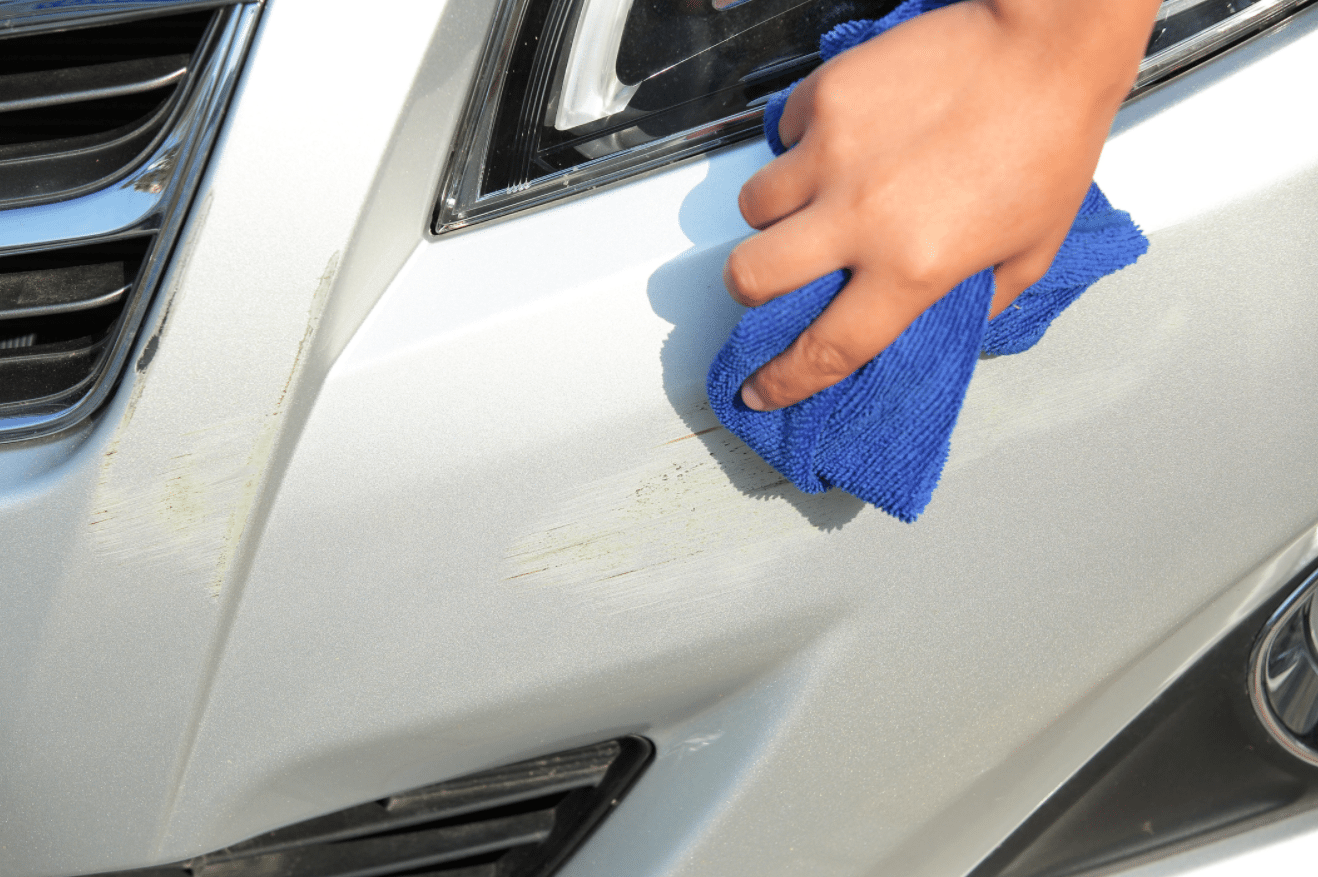
2. Clean the area
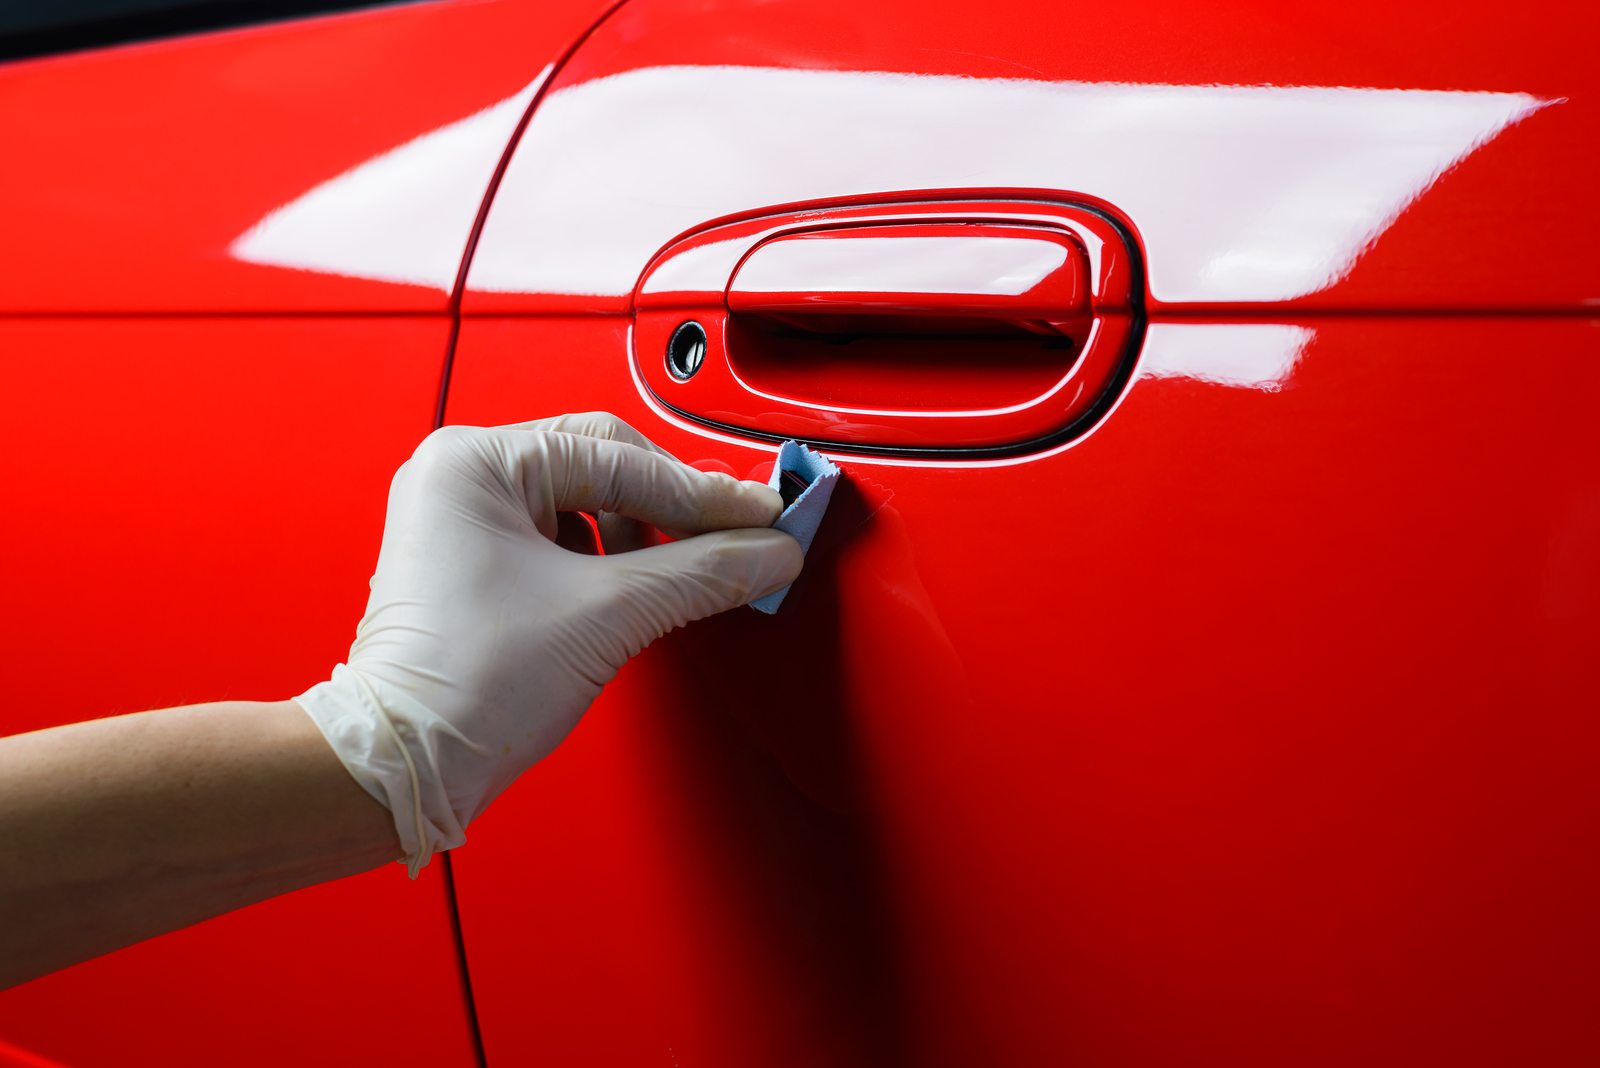
Use wax remover and grease remover to clean the area from any oil, dust, and other dirt. We don’t want that smooth paint to look imperfect (if oil residues are left when painting, this will cause ugly streaking on the car) at the end of the DIY six scratches process. Wipe clean with a clean cloth after using the removers.
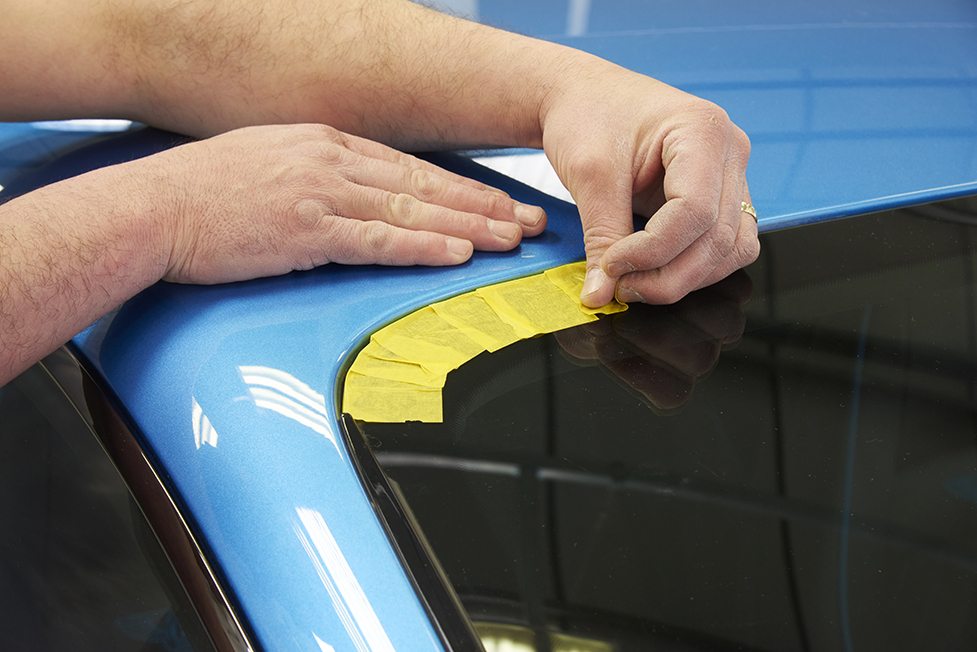
3. Cover adjacent area
Use masking paper or any other wide covering materials to prevent paint from being accidentally sprayed there. Newspaper or unused pieces of cloth work, but in the DIY fix scratches process, masking paper is heavily suggested for the best results.
Tips: Use backmasking technique if the area is close to places where you don’t want to overspray. If you don’t understand what this is, here’s a quick guide: in the DIY fix scratches process, backmasking helps protect nearby surfaces by keeping paint only where it’s needed.
- Tape the inner part of the sides and circle around it. The sticky part should be facing you and half of the width of the tape should be visible. This is called back taping.
- Cover with masking paper.
- Tape the edge again from the top, to make sure it won’t easily fall out .
- The great thing about reverse masking is that you don’t have tape lines on the surface of your car and it protects other parts that you seriously don’t want to get sprayed on.
This is mostly done by professionals. The problem with doing backmasking in your DIY fix scratches project is probably the fact that you have to buy tape and masking paper that you might not use for another year or more.
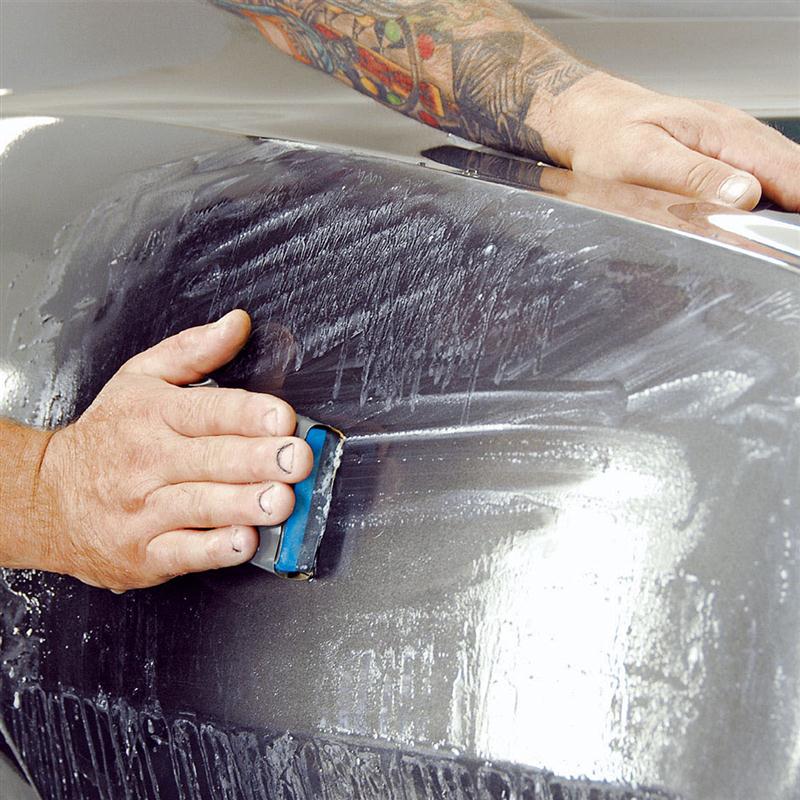
4. Sand the damage
Use a piece of 180 grit dry sandpaper to sand the damaged area. Sand until no leftover paint from the other vehicle is visible.
And then, use 320 grit dry sandpaper to feather sand the area. In the DIY fix scratches process, sanding the area is essential for creating a seamless surface where the damage occurred bringing it as close as possible to its original condition. If you skip this step, the new paint will highlight imperfections, and people will easily spot where the scratch once was.
5. Clean the area again
Use wax and grease remover again to clean the area. Since you used sandpaper, we can’t risk having sand inclusion. Wipe with the cloth you used for wiping it clean again.
6. Mask again
Do the reverse masking whenever possible. If it’s a lower part of the car, best to cover the space under it, so you don’t spray on the suspension components. In the DIY fix scratches process, don’t let dust flow in and out around the damaged area.
You will need to temporarily cover a tighter area around the damaged part to spray the primer only on the bare metal sections.
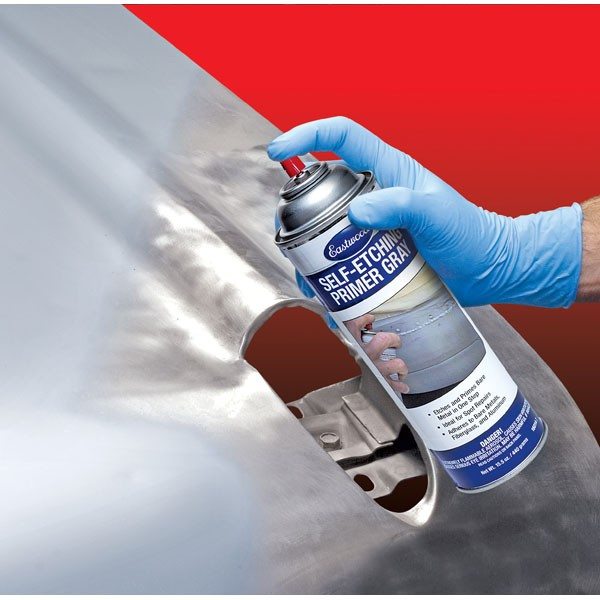
7. Begin spraying
Start with Primer Etch to cover the bare metal. In the DIY fix scratches process, note that you don’t always need to spray etch primer—if there’s no bare metal visible, leave it alone. Shake the can as you spray it, and let it dry for a few minutes.
Use prime surface afterward. Turn the can upside down after usage. Wait for at least 4 hours before proceeding to the next step.
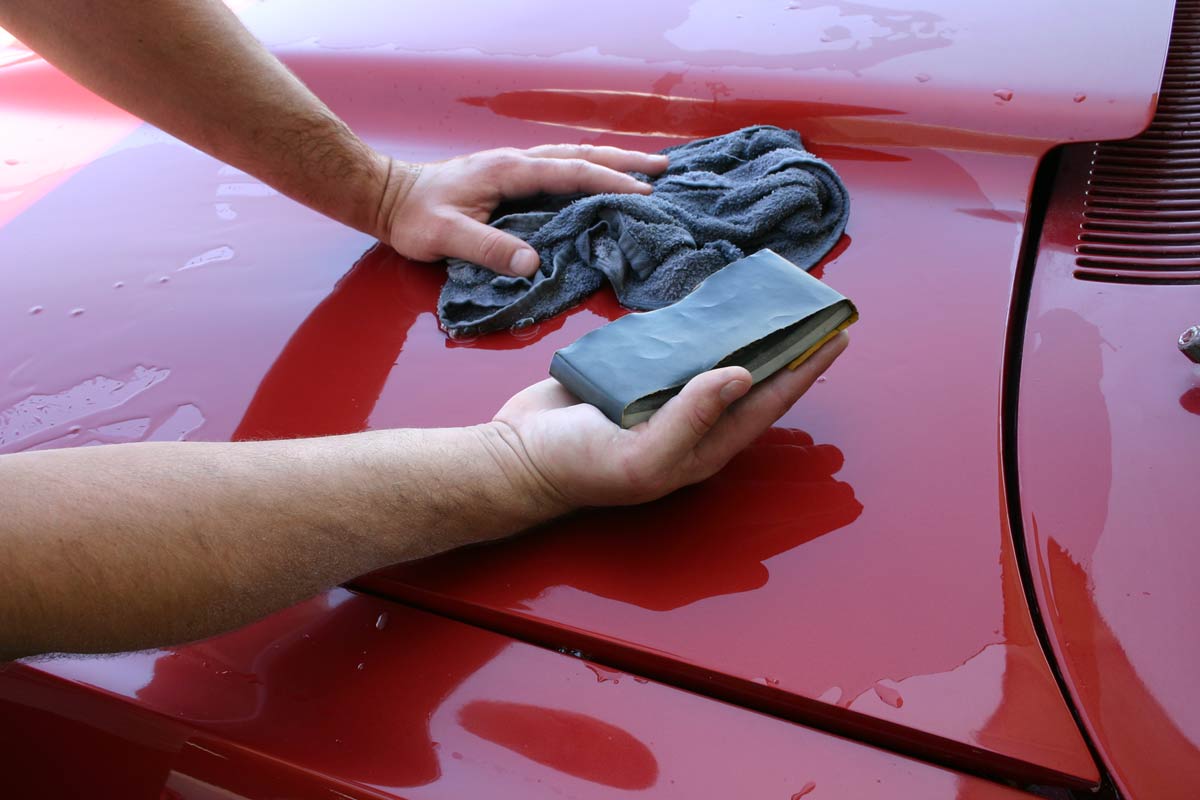
8. Sanding again
Now, remove that temporary cover and sand with 600 grit dry sandpaper. If you don’t have 600, use 800 grit wet and dry sandpaper instead. The purpose is to remove any sand or imperfections done by dirt or dust.
9. Prepare for the ultimate touch
Use compounding agent to level out the surface. Much like feather sanding, this is the ultimate move that is going to smooth out between the damaged surface and its surrounding. In the DIY fix scratches process, remember not to apply the compounding agent directly on the damaged surface itself.
Learn how to spray. There is no exact way to teach you. In the DIY fix scratches process, the easiest method is to practice spraying on other surfaces first to develop the technique needed to accurately spray your car.
Once more, clean the area with wax and grease remover, make sure the surface is as smooth as silk before spraying the colors on.